Time Travel
Overview
The Time Travel feature allows you to move between datasets that were taken at different points in time. If alternate time locations are available, they will appear in the time slider. Moving to a different point in time will update your location and dynamically hide or show features in the Map and Pointcloud panes based on what is relevant for your current time selection.
How to Use
There are two main ways to use the Time Travel feature:
1. Using the Arrows in the Photo Pane
- In the Panoramic Photo Pane, use the left and right arrows next to the displayed time to move between available points in time.
- Each click will move you to the previous or next available dataset, updating your view and all relevant panes.
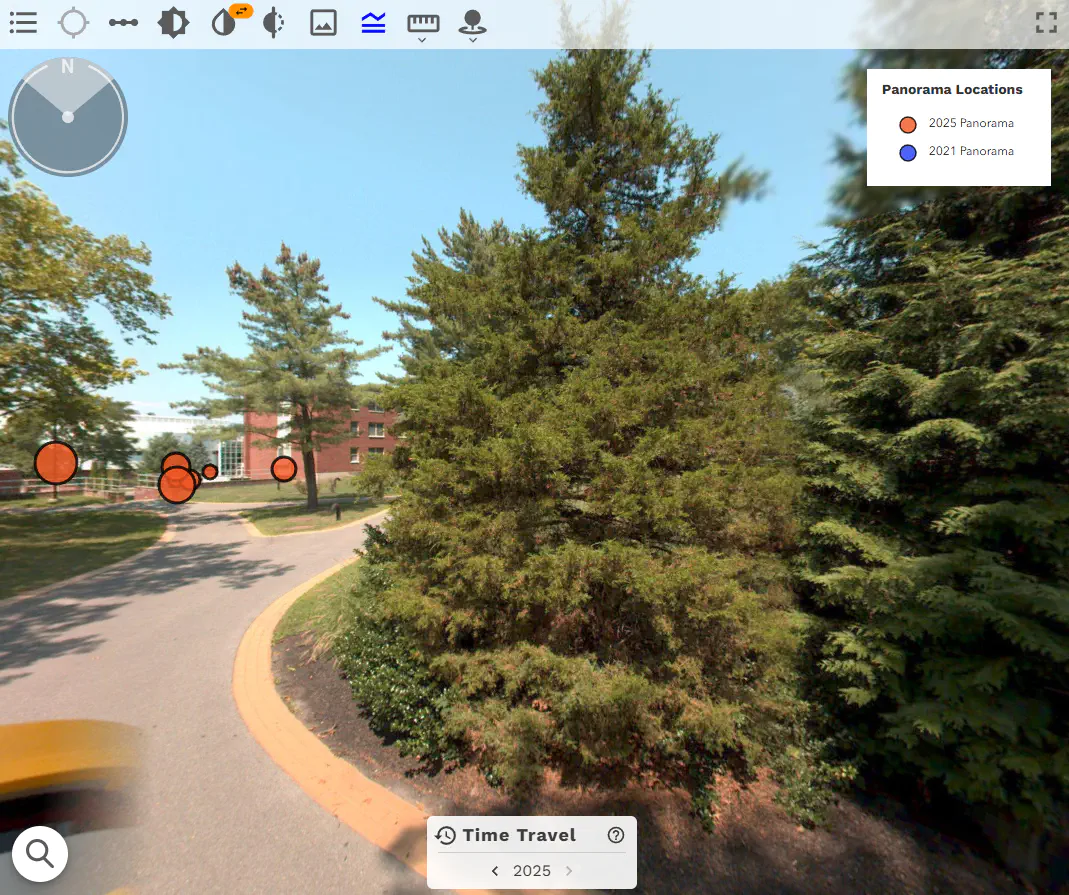
2. Using the Time Travel Slider from the Toolbar
- Click the Time Travel button
 in the main toolbar (top of the app) to open the time travel menu.
 - A slider will appear, showing all available time points. Move the slider to your desired point in time.
- Selecting a new time will update your location and all panes to reflect the chosen dataset.

Impact on Panes
- Map Pane: The map will update to show only features relevant to the selected time. Features not present at the current time will be hidden.
- Panoramic Photo Pane: The current time is displayed here, with left/right arrows for alternate time navigation. The view updates to match the selected time.
- Pointcloud Pane: The pointcloud will update to show only data relevant to the selected time. Features not present at the current time will be hidden.