Pointcloud Pane
Pointcloud Resolution
- Activating the pointcloud resolution button with increase the resolution of the data shown in the pointcloud pane. The left image has pointcloud resolution off, and the right has pointcloud resolution on.

Measure Point
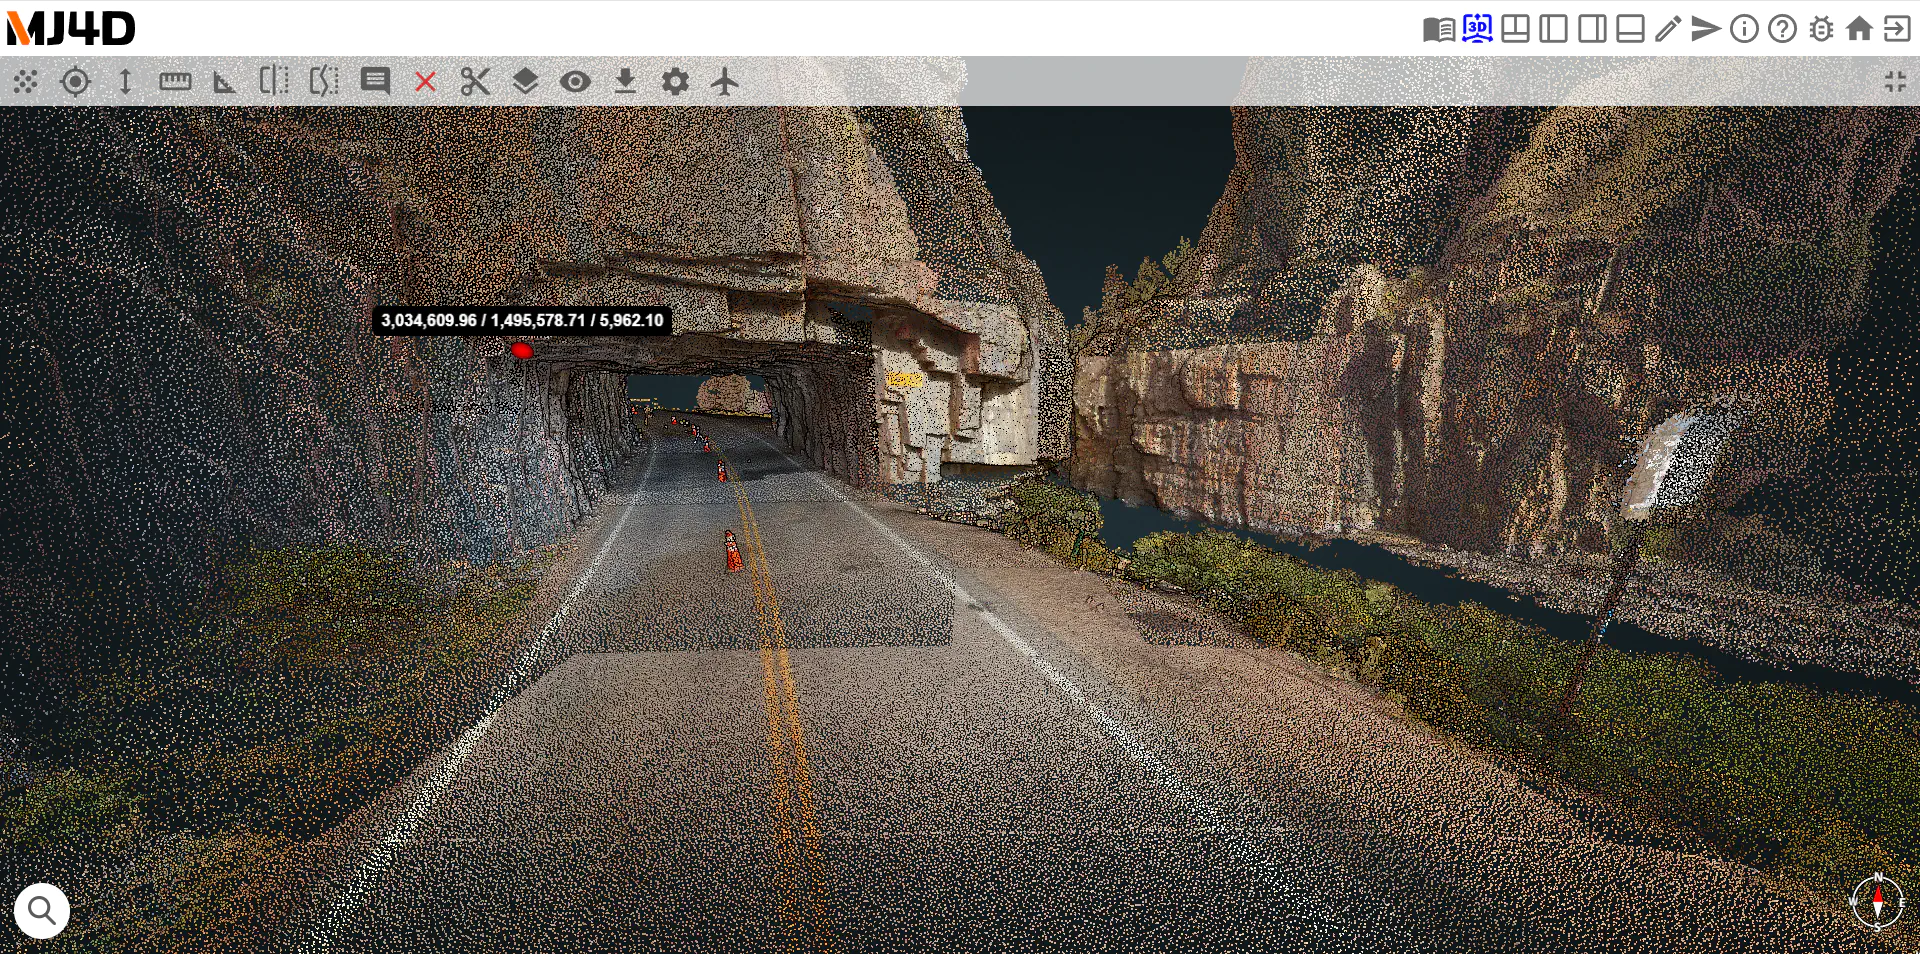
To measure the three dimensional coordinates of a point click on the desired point.
Displayed above each point is its corresponding xyz coordinates.
Measure Height
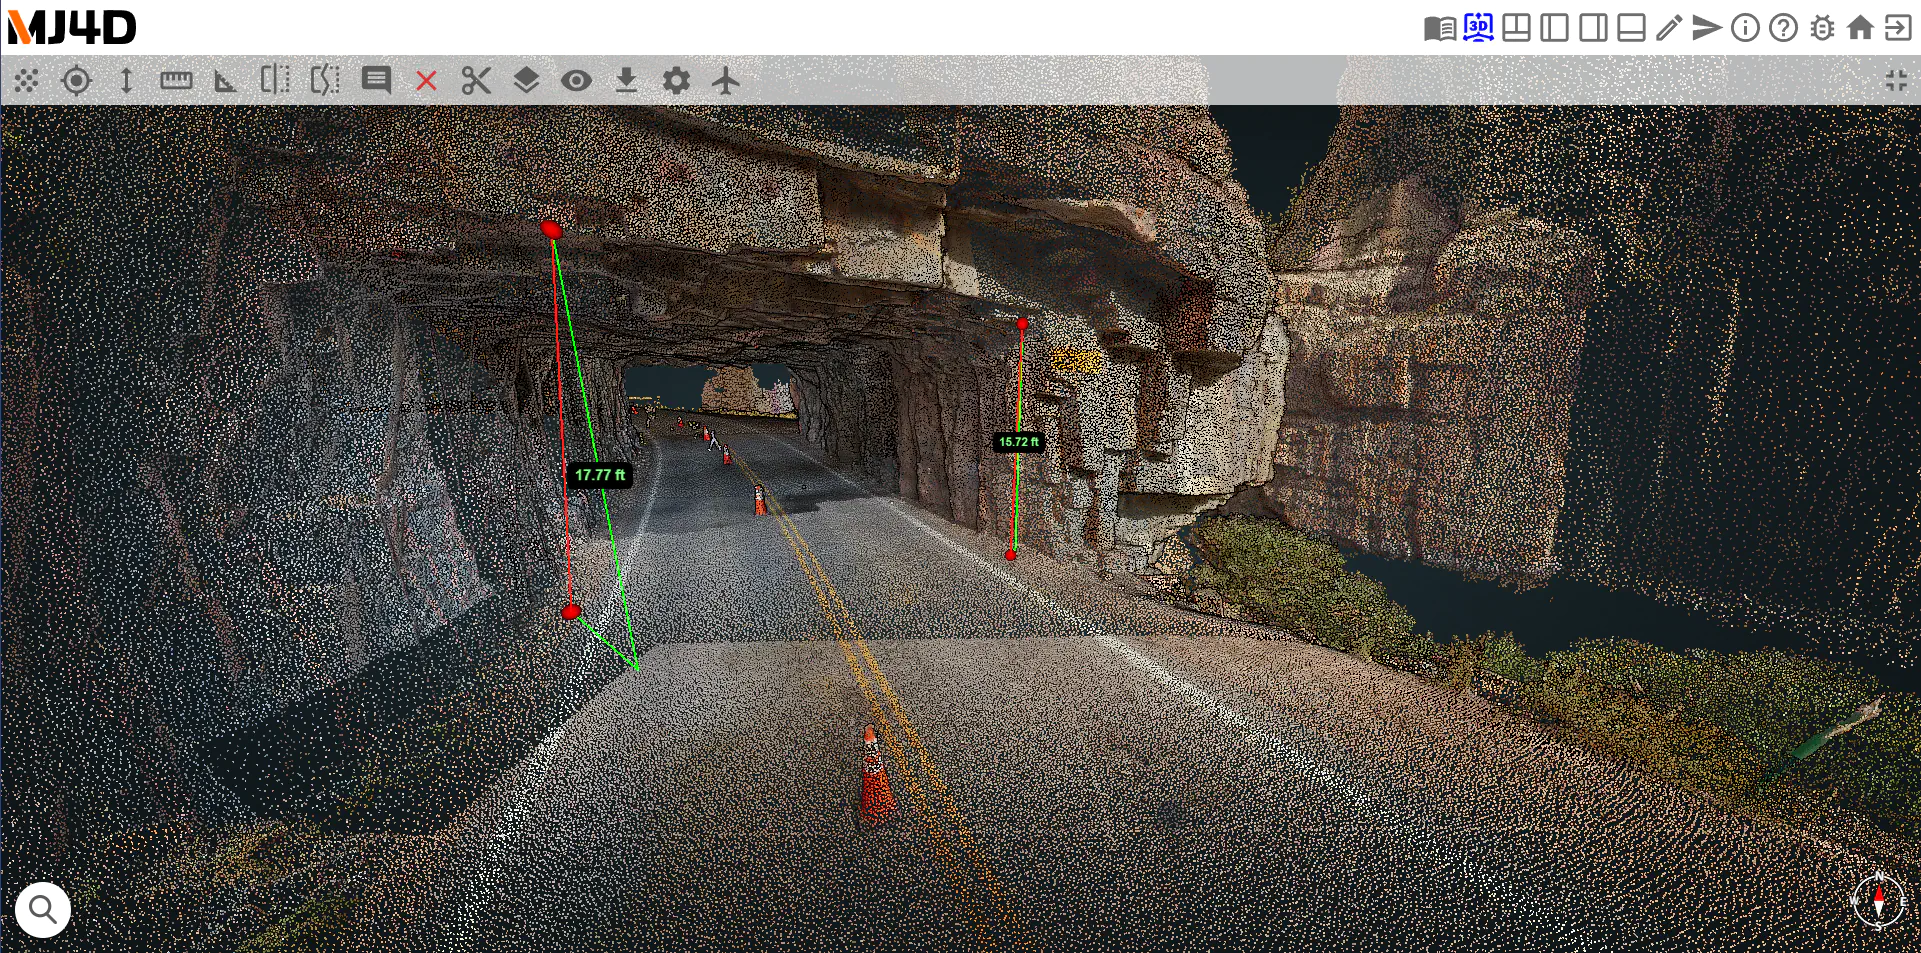
To measure the height between two points click the first point, then click the second point.
The value displayed in green represents the height difference (in feet) between the two points.
Measure Distance
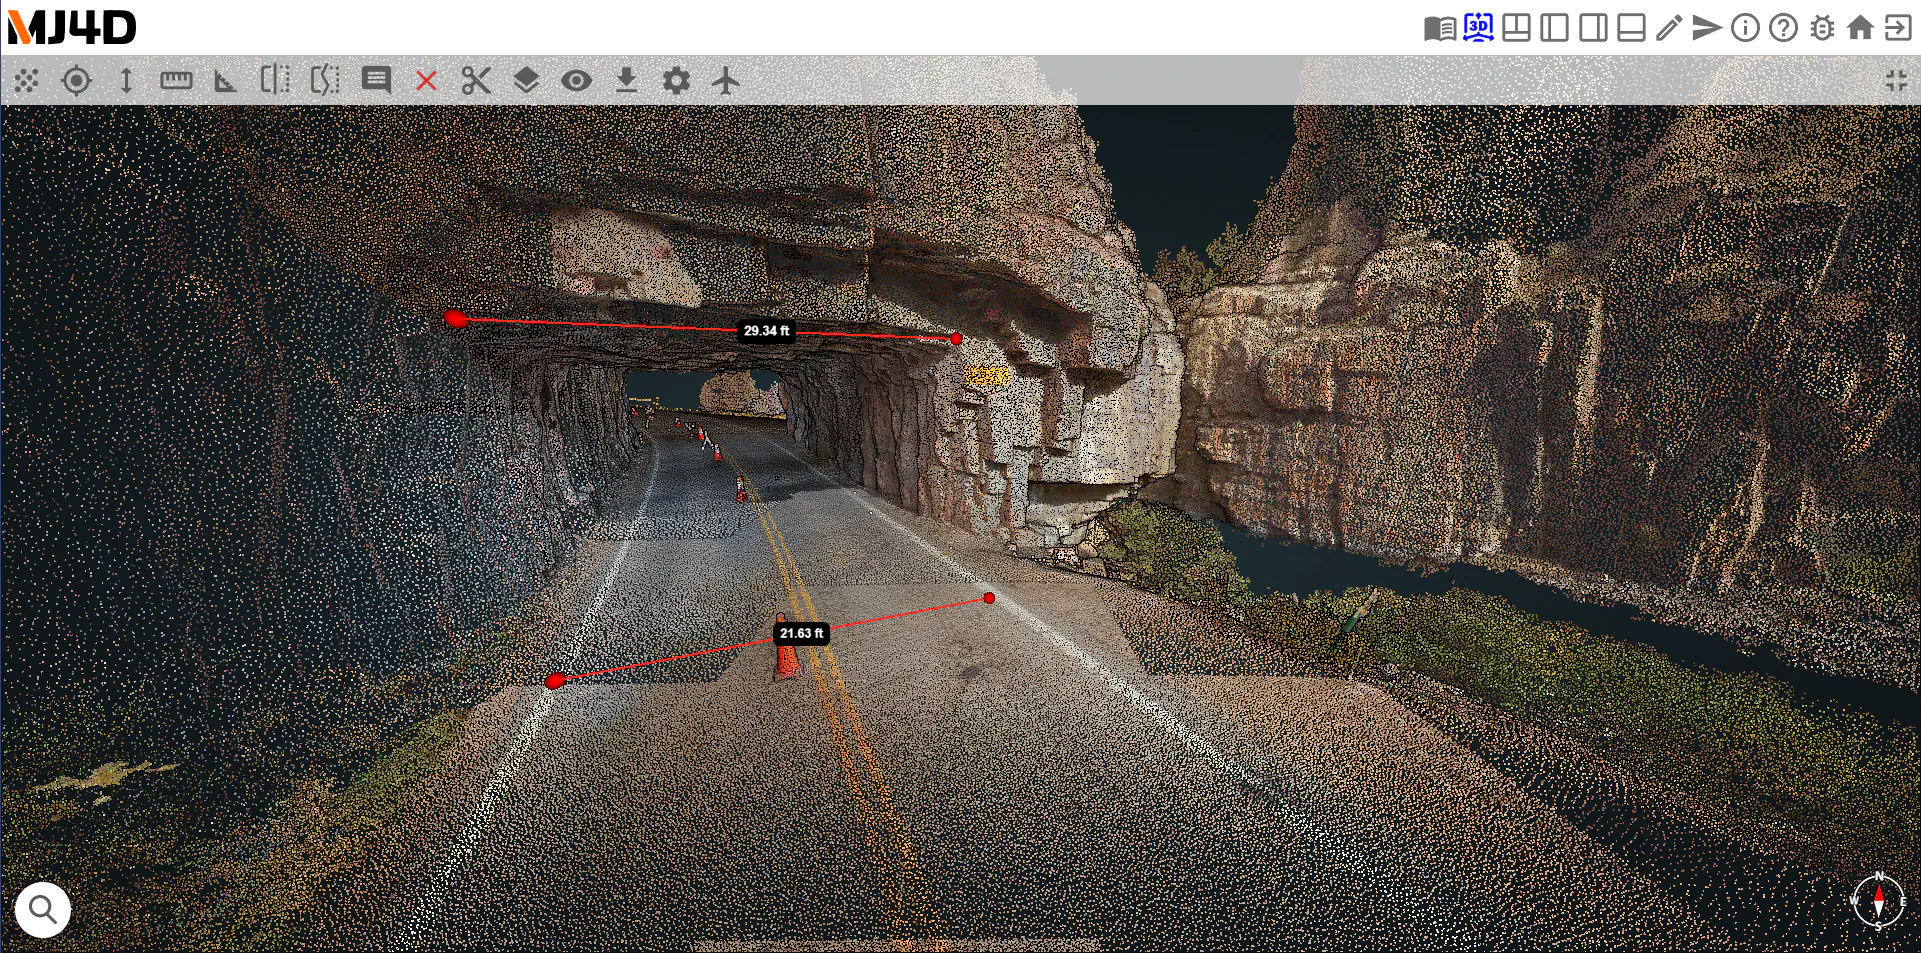
To measure the distance between two or more points click each point to be measured, then when done left click to exit the tool.
Between each point, the three-dimensional distance (in feet) will displayed.
Measure Slope
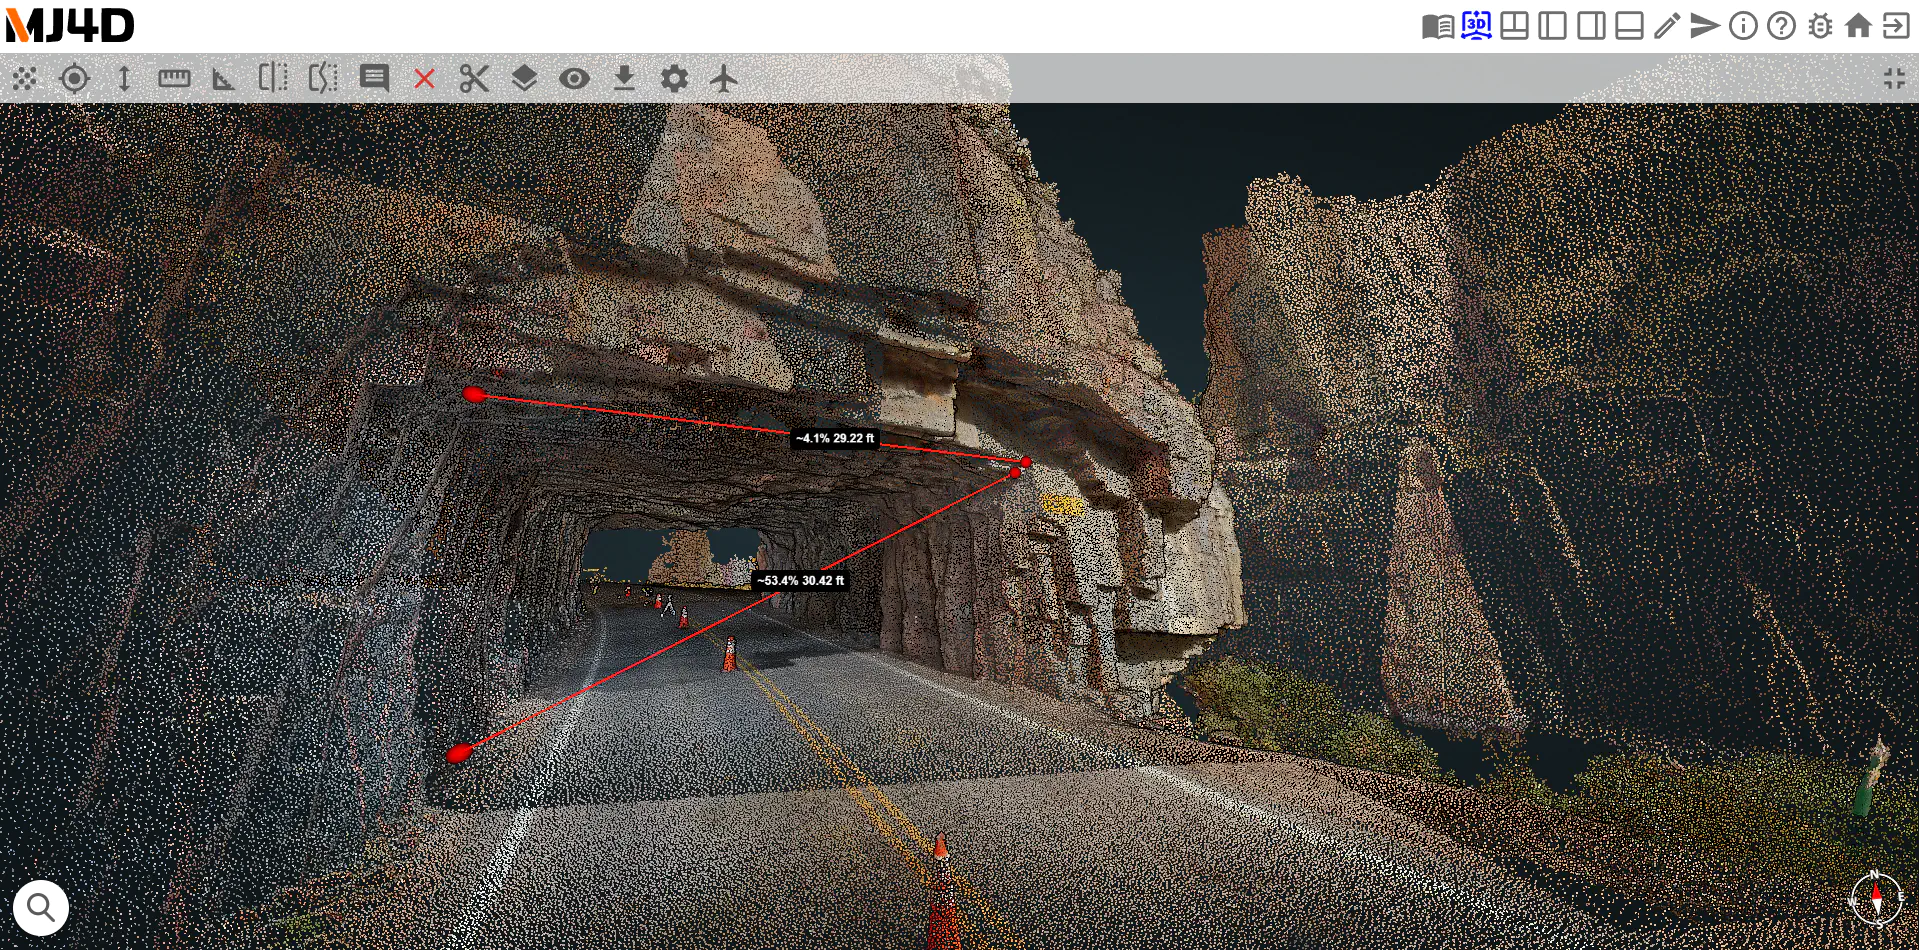
To measure slope between two points click the first point, then click the second point.
The line between these two points will be labelled with the percentage slope followed by the three-dimensional distance in feet or the dip andgle and direction (this can be edited in the General Pointcloud Settings Tool).
Create Cross Section
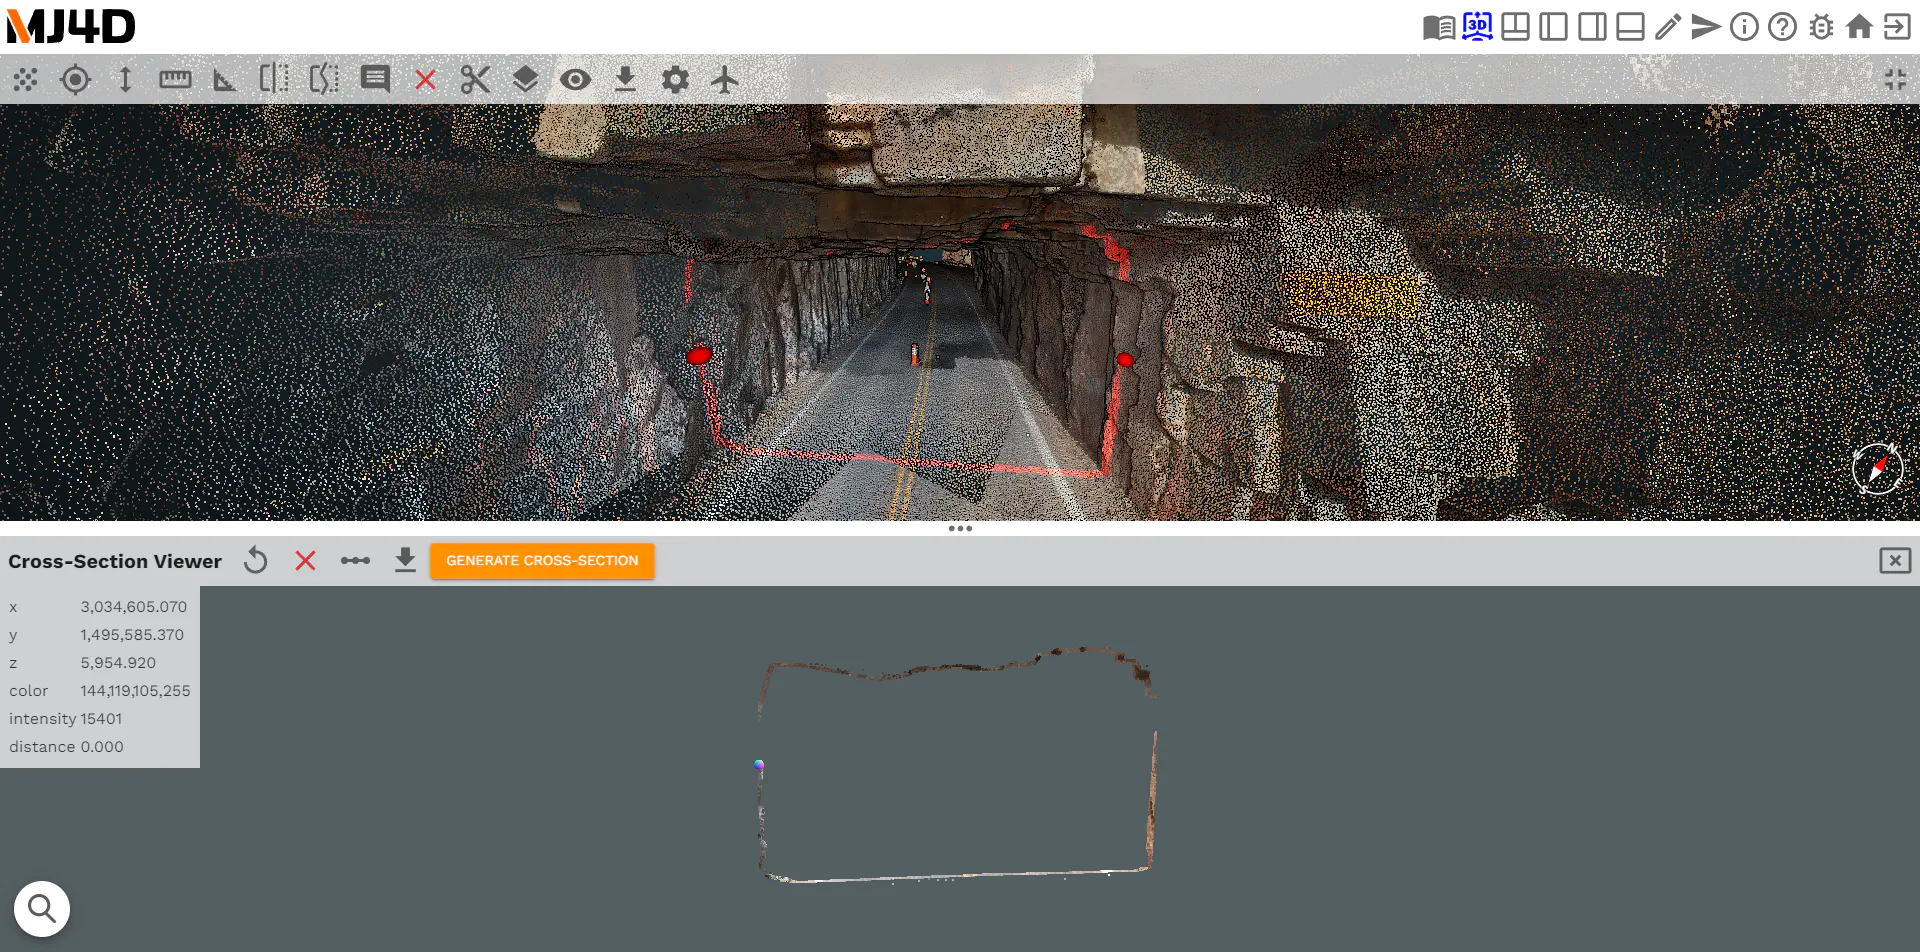
The cross section tool is used for capturing a 2d representation of a selected area within the pointcloud after placing two points.
When selected, a separate cross section viewer pane will appear to inspect the cross section similar to the Profile View.
Once two points have been placed select the “Generate Cross Section” button to convert the pointcloud into a Measurable 2D Image. Learn more here.
Create Profile Section
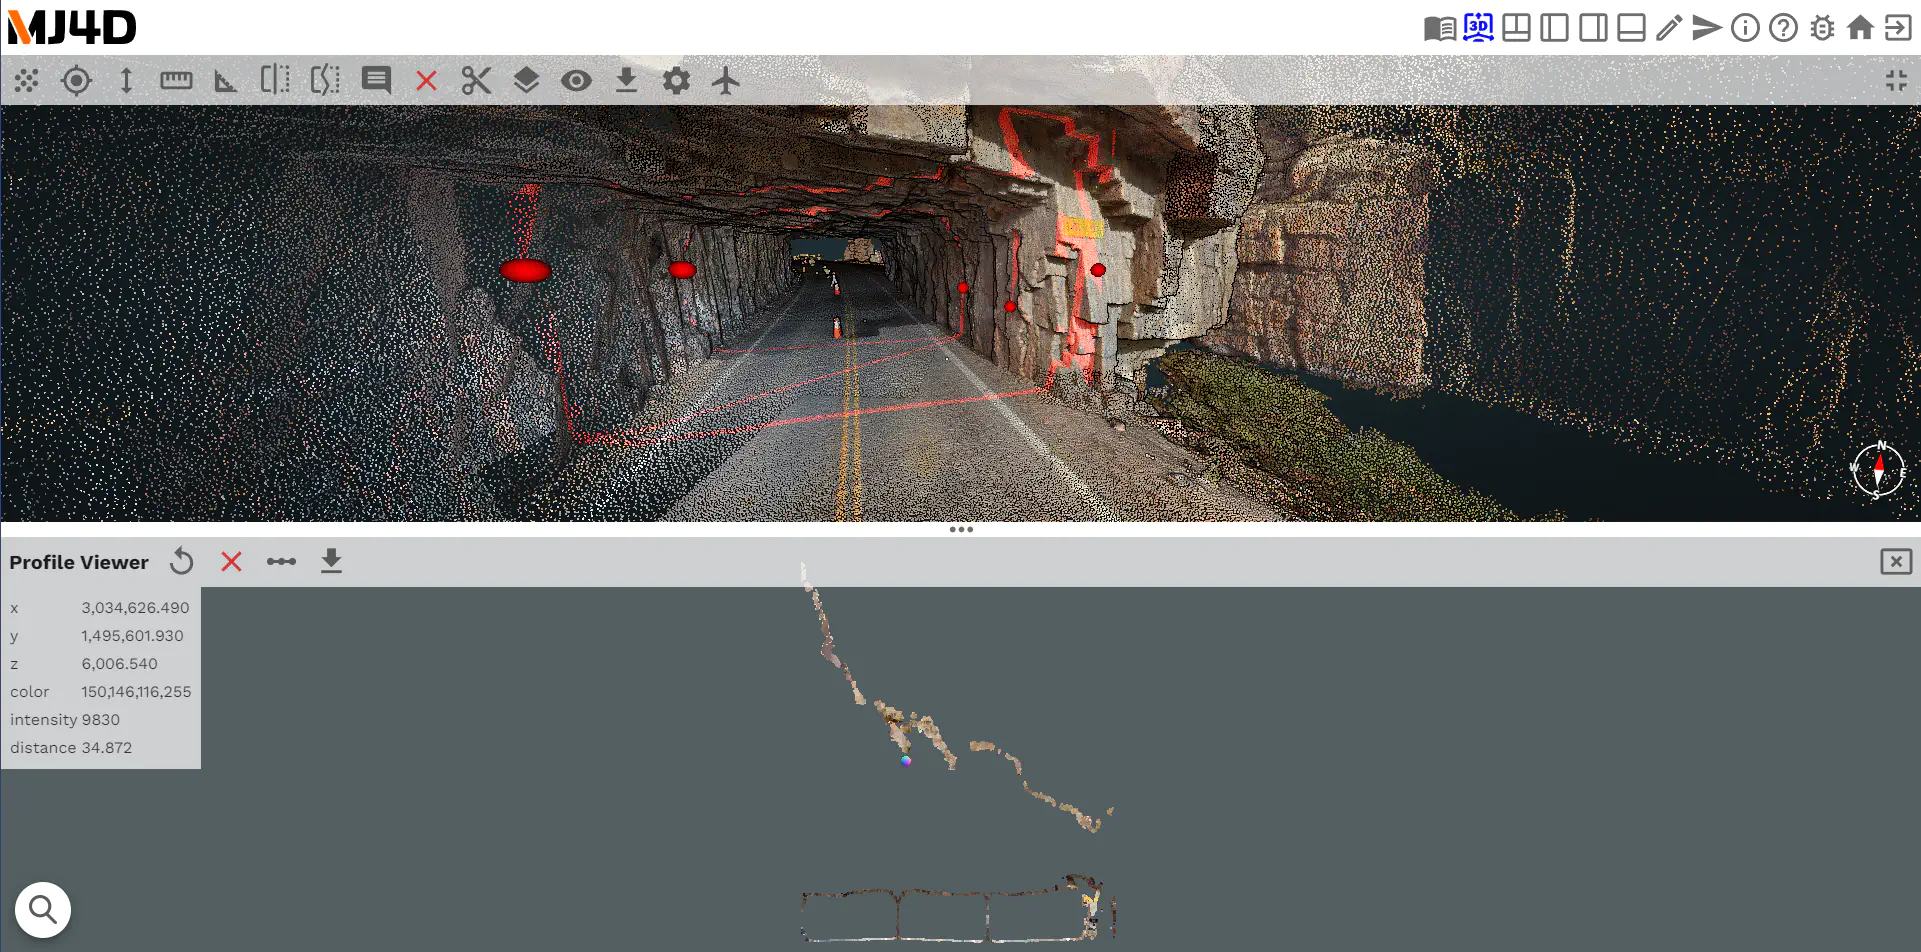
Selecting the profile view works allows you to take a cross section of the pointcloud that includes 2 or more points.
When selected, a separate Cross-Section viewer pane will appear where you can inspect the Cross-Section similar to the Cross Section above.
Once the points have been placed you can select the “Generate Cross-Section” button to convert the pointcloud into a Measurable 2D Image.
Add Annotation
Place an annotation tag within the pointcloud pane by clicking anywhere on the pointcloud. Editing annotation text is done through the Scene Layers tool, and is covered later in this guide.
Clear Measurements
- The clear measurements button will remove all measurements (point, height, distance and slope) from the pointcloud pane.
Clip Menu

The clip menu removes points from the pointcloud based on the following selections. First use Clip Task/Method to define clip settings, then select the clip area with either polygon or volume clip.
Clip Task / Method

| Clip Task | Clip Method |
| - Highlight: Will highlight the selected areas as set by the placed clips and clip method. - Inside: Will show only the pointcloud points that reside within the selected areas. - Outside: Will show only the pointcloud points that reside outside the selected areas. | - Inside Any: Will set the selected area to all points within all placed clips. - Inside All: Will set the selected area to only the points that reside within all of the placed clips. |
Polygon Clip
- To use the polygon clip tool place the vertices of a polygon in the pointcloud pane with the left mouse button. Use the right mouse button to complete the polygon from the placed points.
Volume Clip
- The volume clip tool will allow you to place a cube, in the pointcloud pane, with the left or right mouse button. To edit the cube, click anywhere on it and red, green, and blue dots and lines will appear.
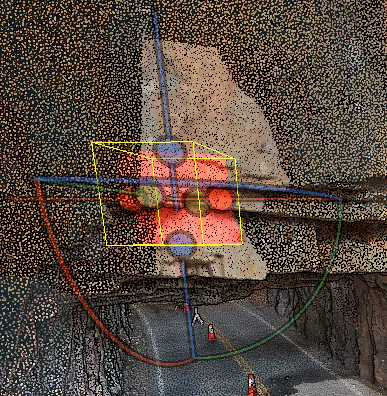
Drag the dots to expand or shrink the cube in the cooresponding direction. Drag the curved lines to rotate the cube about the given axis. See the video below for an example.
Note: Editing the cube is only available when Pointcloud Shading in On.
Clear Volume Clip
- Clicking the clear volume clip button will remove any clip placed in the pointcloud pane and restore the pointcloud to its original state.
Scene Layers
The scene layers menu has three sections, point Clouds, Measurements, and Annotations.
| Point Clouds | Measurements | Annotations |
| Lists out all the pointclouds in the pointcloud pane. The checkbox next to each item allows you to show/hide that pointcoud. The selection box next to each item allows you to change how the points in that pointcloud are displayed. | Lists out all the point, height, distance, and slope measurements. The checkbox next to each item shows/hides that measurement. Clicking the red X button next to each item allows you to delete that measurement. | Lists out all the annotations. The checkbox at the top shows/hides all the annotation descriptions. The checkbox next to each item shows/hides that annotation. Under each item there are text boxes to enter both a title and a description for that annotation. |
Classification Filter
- Filters pointclouds by classification type. Choose any combination of pointcloud classifications to show in the pointcloud pane.
Download Measurements
- The download measurements button opens a menu where you can select a format to download all point, height, distance and slope measurements made. Select from JSON, DXF and CSV file types.
General Pointcloud Settings
| Slope Measurement Mode | Pointcloud Shading | Skybox Style |
| Toggle the slope measurement type between percent/length and dip angle/direction. | Activating the pointcloud shading button will add shading to the pointcloud. By default, the pointcloud shading button is toggled on. | Change how the portions of the pointcloud with no data are displayed. Gradient (default) shows a dark background, dark sky shows a background similar to a stormy sky and bright sky which shows a lighter background. |
Orthographic View Mode
Changes the current view in the pointcloud pane to a top-down view at the current point of view.
This view is especially helpful for taking Cross Section Measurements and Measuring in the Pointcloud Pane