Photo Inspector
Photo Inspector is a way to view imagery data within MJ4D with a consolidated view for georeferenced site photos in both 3D and 2D formats.
Photo Inspector 3D
Opening Photo Inspector 3D
Some MJ4D Projects will have a 3D Photo Inspector viewer that can be opened by selecting the Photo Inspector 3D icon in the top navbar.

Layers in the Map Pane representing areas with this data available can also be selected to open up the Photo Inspector 3D Viewer at the selected location. The viewer can be resized and dragged to a new location on your screen.
Selecting an Area
You can select an area you want to look at by clicking the layer in the map or by navigating to a new area with the Areas dropdown selection.
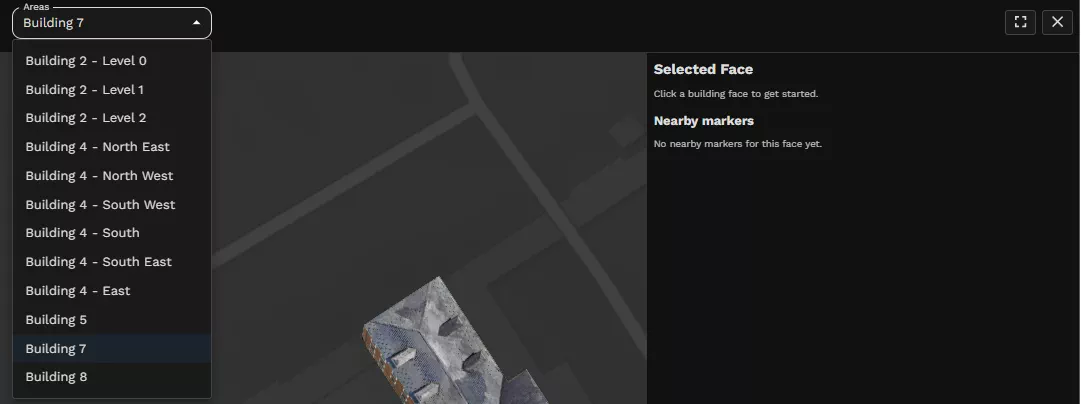
Selecting a Face
Once you have an area selected you can select a face by clicking on the 3D object. This will position you in front of the face and provide a selection of georeferenced images to select from, with the closest image of the location clicked on the face being set as the selected marker.
On the top right-hand side you will see some data associated with the face you selected.
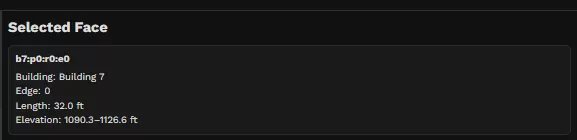
After selecting a face, a selected marker will be chosen based on the position that was clicked in the viewer. Images representing the geolocations will be shown on the right-hand side with a selection of nearby positions listed below the selected marker image.
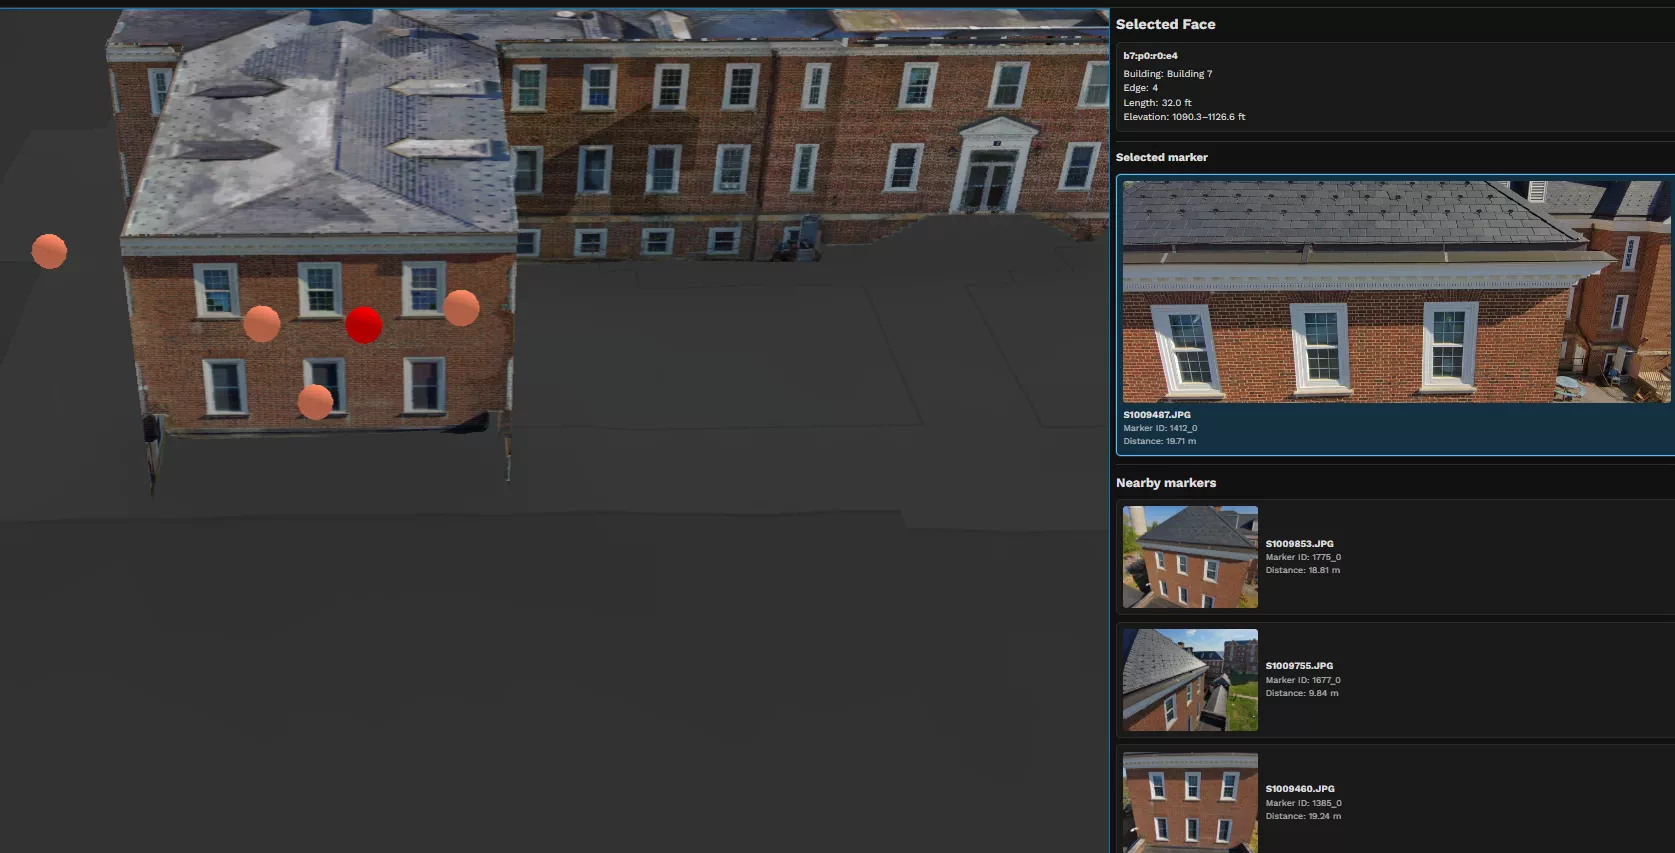
You can select new markers by clicking on the nearby markers list or by selecting the marker directly in the 3D scene.
The marker image can also be opened in fullscreen by selecting the image directly which will open it up in a new tab.
Photo Inspector 2D
Opening Photo Inspector 2D
Some Photo Inspector projects are available on the MJ4D Home screen under the Photo Inspector tab. This will bring you to a dashboard showing you all available Photo Inspector projects. These projects include 2D georeferenced site photos that can be selected in a map pane.
Using Photo Inspector
After opening a project the Photo Inspector main window will load:
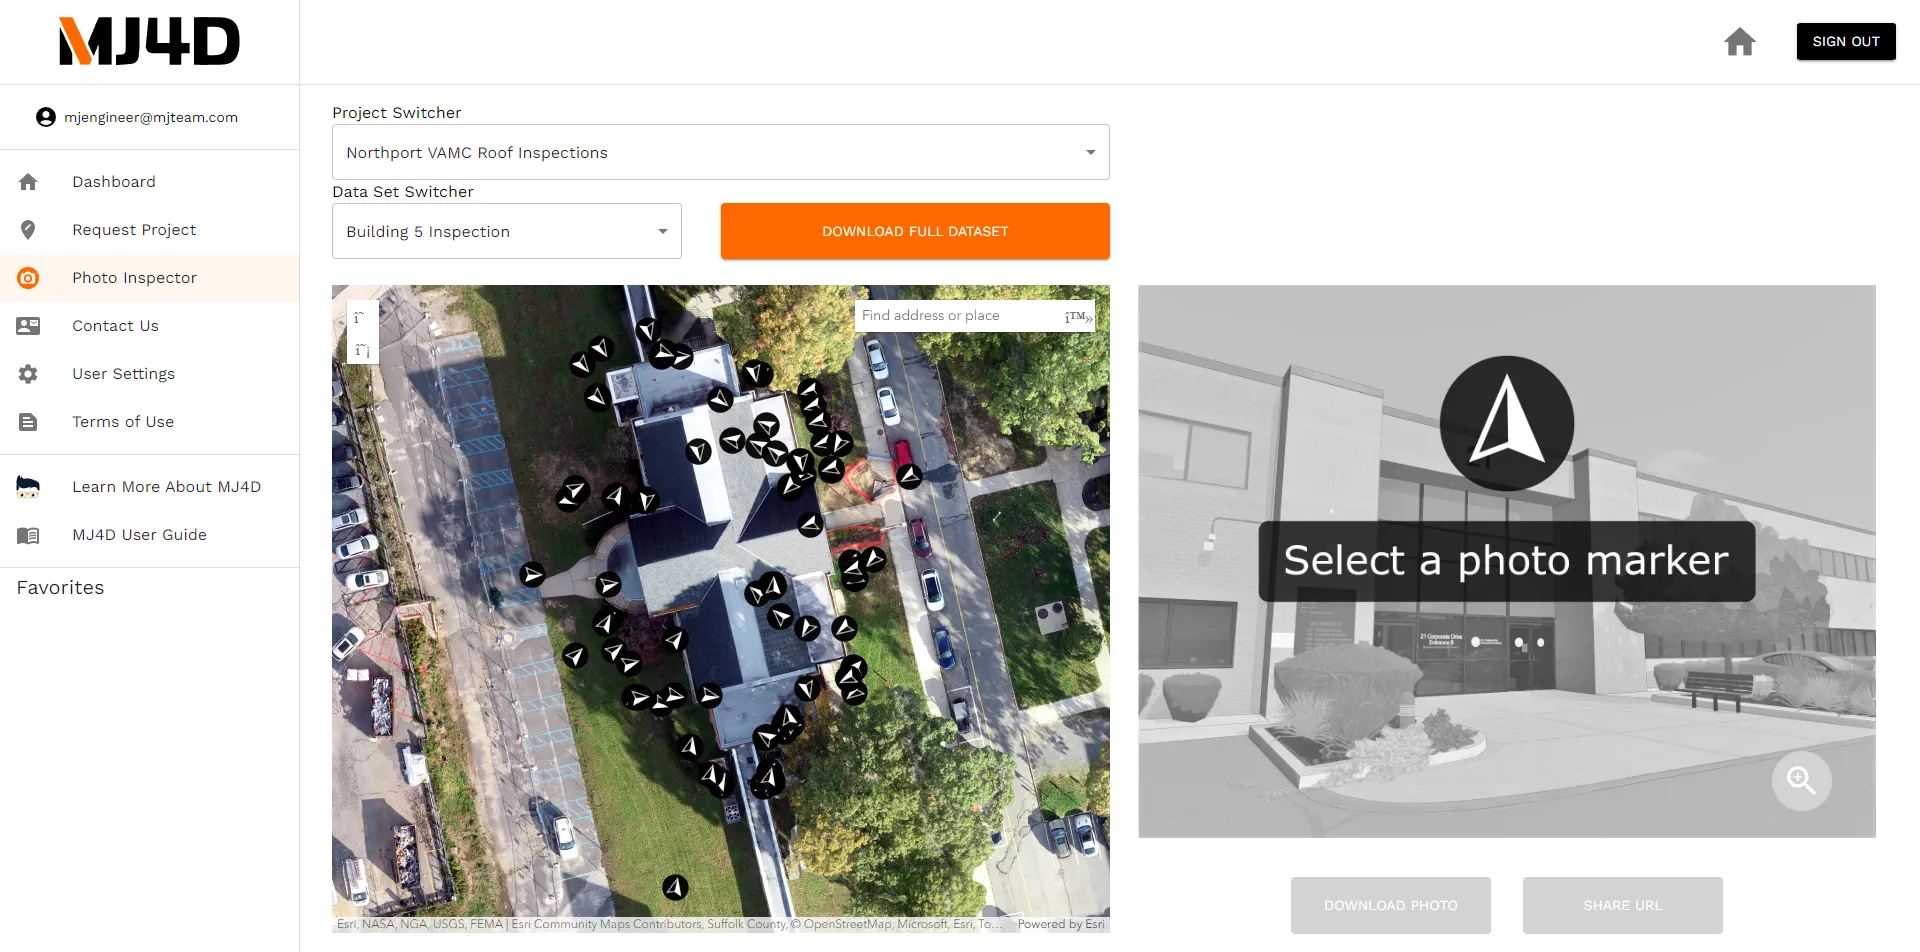
Photo Locations are represented with the icon.
The head of the arrow will point in the direction the photo was captured. Click one of these icons to open the corresponding photo on the right side.
Photo Inspector Projects will be broken out into individual datasets that can be toggled from the dropdown directly above the map. When working with multiple Photo Inspector Projects in MJ4D, the dropdown above the dataset switcher will allow toggling between projects.
Downloading Photo Inspector Data
Datasets can also be downloaded in a .zip file format using the download button. The zip file will contain all the photos, a high-resolution georeferenced orthoimage, and a .kmz file of the image locations that can be imported into Google Earth or ArcGIS.