Panoramic Photo Pane
Level List
- Toggle the visibility of pano locations by group. Identical to the button in the Map Pane.
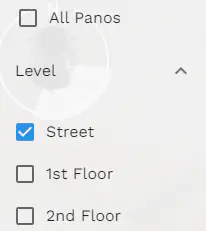
- To hide all the panorama nodes on screen select the “All Panos” checkbox.
![]()
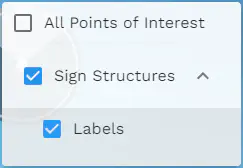
Toggle Points of Interest
- Toggle the visibility of various points of interest in the photo pane. Available for select MJ4D projects.
Hotspot Filter
- Filter the visibility of panos based on a minimum and maximum distance from the current position.

Adjust Brightness
Use the slider to decrease or increase the brightness of the display.
Illuminate Panorama (Intensity Imagery)
Toggles between the default RGB panorama view and a light intensity view. This can be helpful in seeing areas that are too bright or too dark.
When Illuminate Mode is toggled on, a slider bar will appear at the bottom of the screen. This controls the opacity of the intensity image. Move the slider to the left for transparency and move the slider to the right for opacity. Defaults to the middle to see both the original pano and intensity pano.

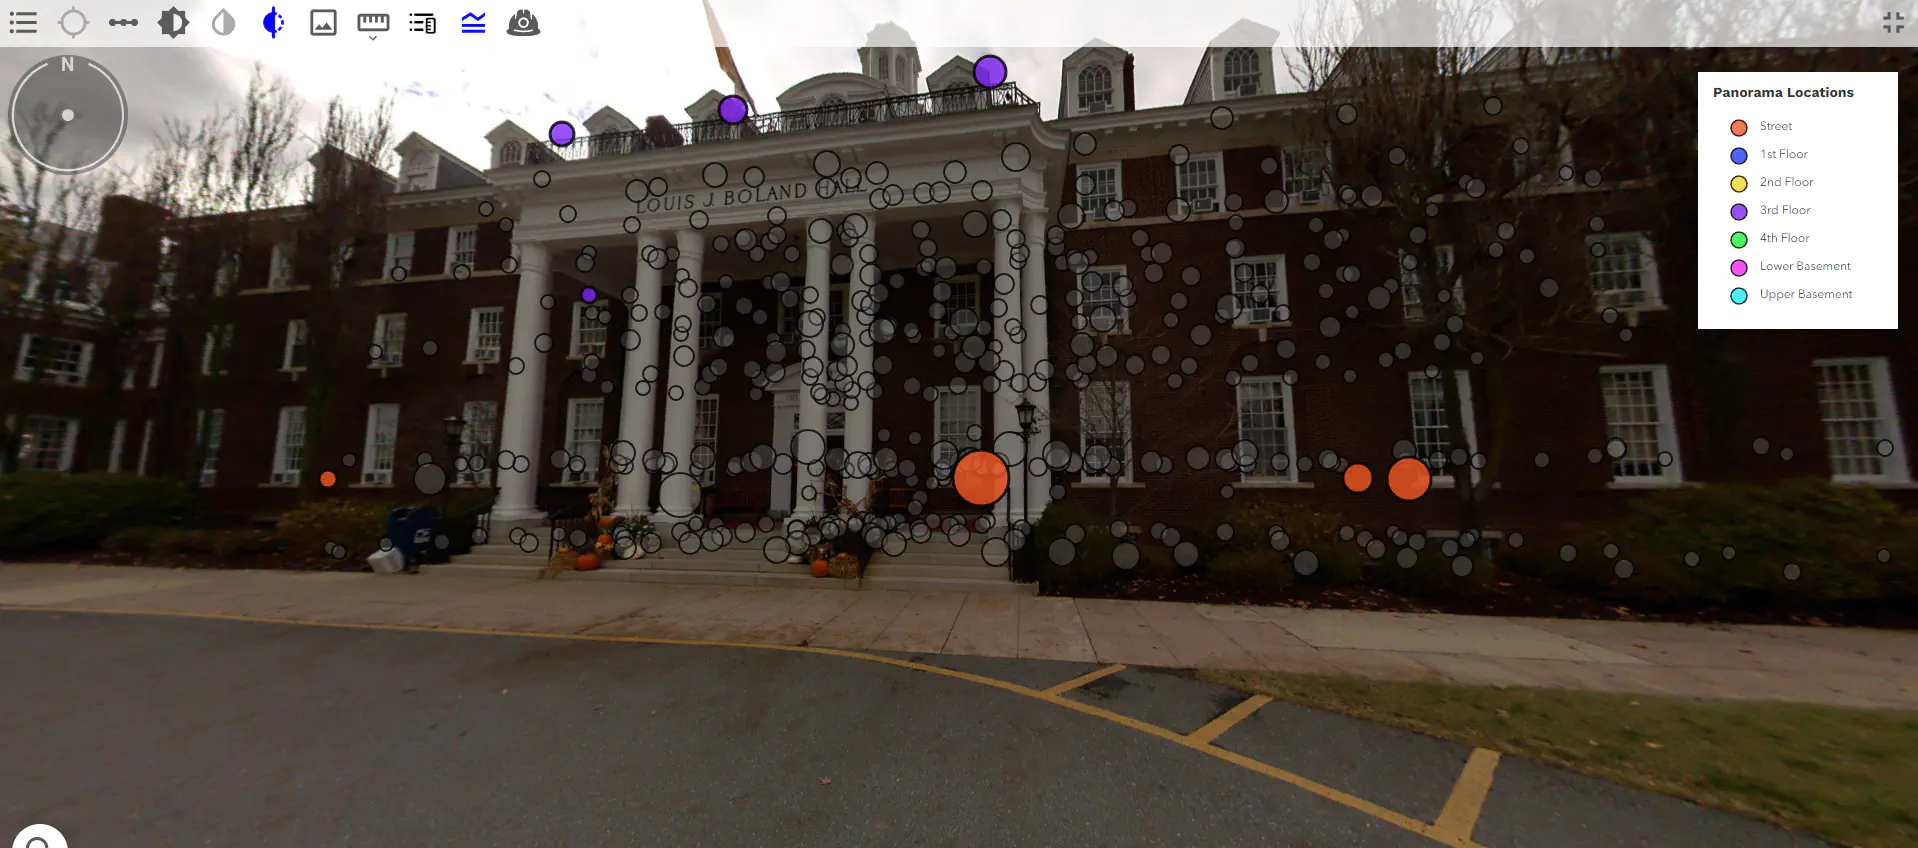
X-Ray Mode
- Use this tool to toggle the visibility of obscured panoramic photo hotspots. By default, obscured panoramic photo hotspots (for example behind walls or under a floor) are hidden in the panoramic photo viewer.
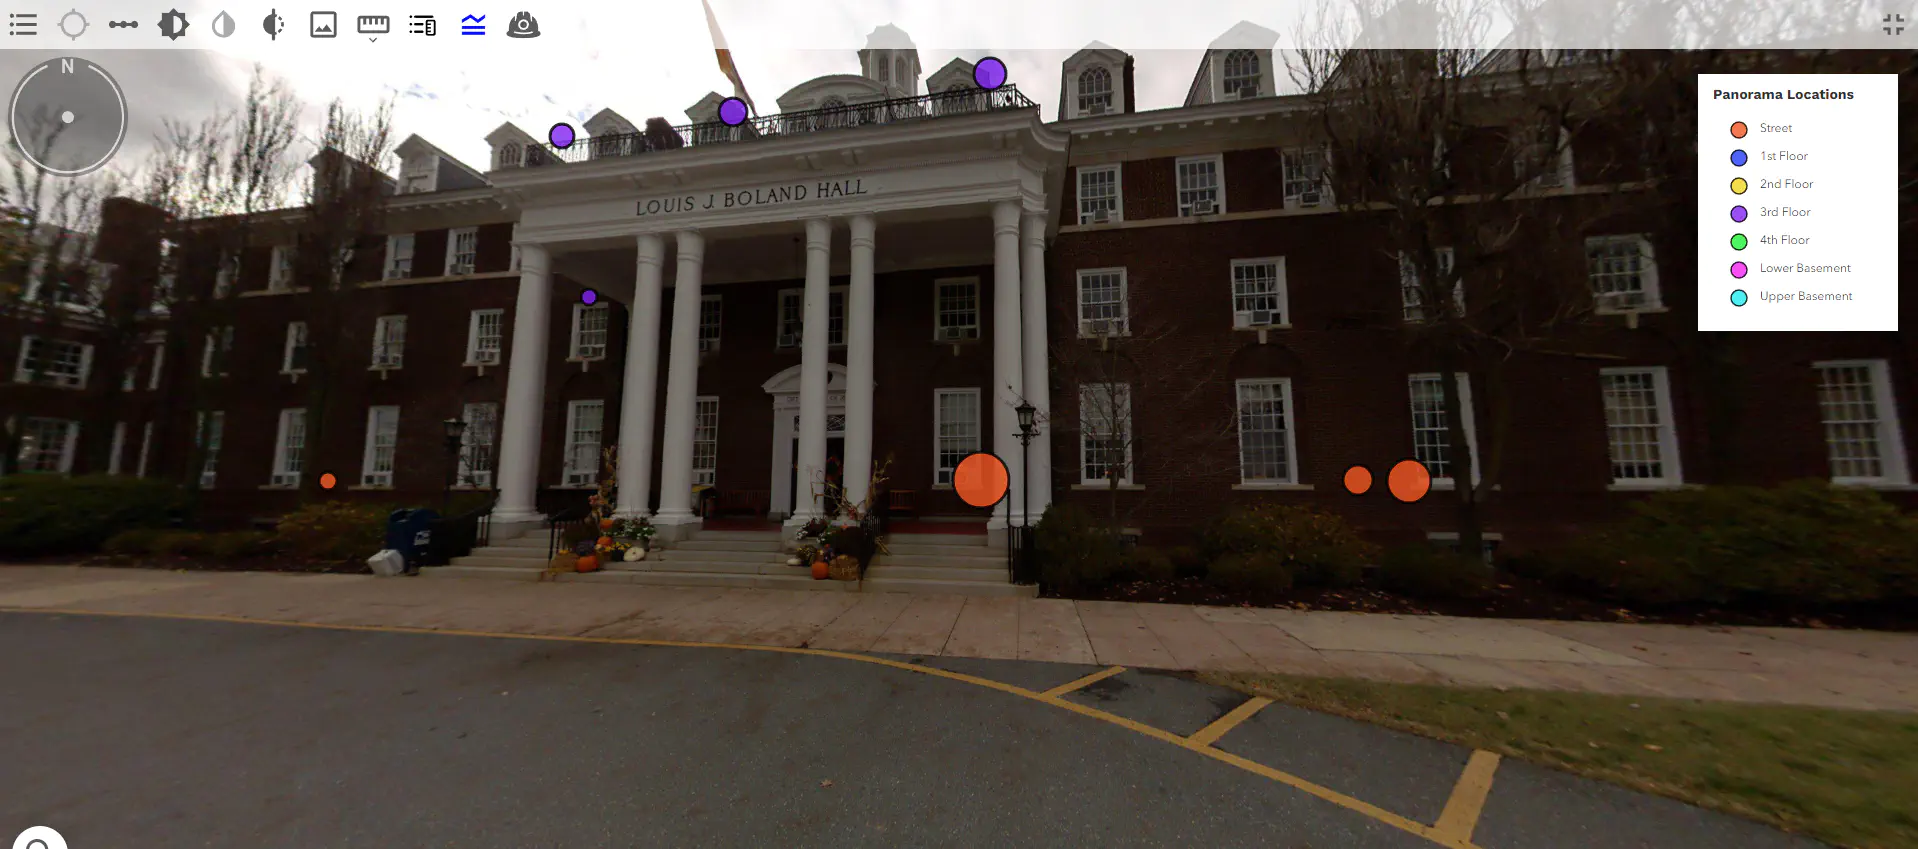
- When X-Ray Mode is toggled on, obscured panoramic photo hotspots will appear in the panoramic photo viewer as transparent. They still behave like normal hotspots, and clicking on one will move the viewer to that panoramic photo.
Take Screenshot
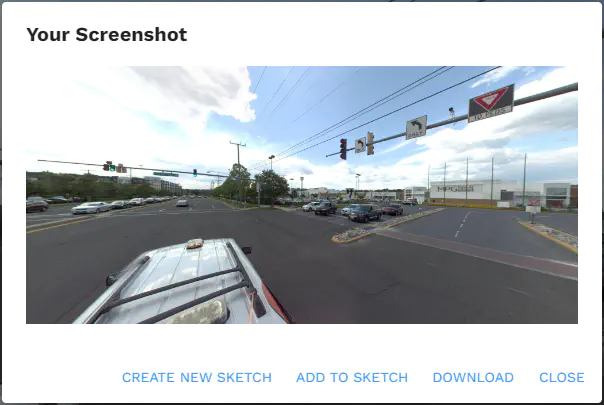
Save a .jpg of the current view or open it in the sketchpad.
- Create New Sketch
- Creates a blank Sketchpad canvas with only the screenshot.
- Add to Sketch
- Add a screenshot to the current sketch. Note that after closing the sketch menu, the current sketch will be saved in the sketchbook to return to later. To access the sketchpad directly, click the pencil icon in the MJ4D main toolbar.
- Add to sketch will allow the addition of multiple screenshots to a single canvas.
- Download
- Downloads a .jpg image of the screenshot.
- Close
- Closes the sketchpad.
- Create New Sketch
Legend
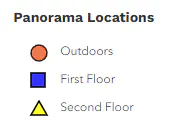
Opens a map legend that denotes each pano level to a color and symbol.
Identical to the legend in the Map Pane
Measure
Measurements on real-world features are now available in the Panoramic Photo Pane! Point, distance, height and slope measurements can all be taken directly in the photo pane. For a more in depth overview and step-by-step instructions on how to use the tool, visit the Panoramic Measuring Workflows Page.
PinPoint
PinPoint can be used to record points of interest from right within the panoramic photo pane. Some specific capabilities include asset inventories, inspection points of interest and mapping features.
For a brief overview of all the different types of PinPoints that can be placed, check out the PinPoint Feature Reference Page.
For a more in depth overview and step-by-step instructions on how to use the tool, visit the PinPoint Workflows Page.
Measure vs PinPoint
The PinPoint and Measure tools are fairly similar, yet each have specific use cases. Below is an outline of when the PinPoint tool may be better, and when the Measure tool is best:
| PinPoint | Measure |
|---|---|
| Collect and summarize points for asset inventories. | Quickly measure a point’s real-world coordinates within the photo pane. |
| Select and store data on mapping features. | Measure the distance, height or slope of a feature or between features. |
| Select features for future inspection. | Temporarily show point, distance, slope and height measurements in the panoramic photo pane. |