Map Pane
Pano Levels
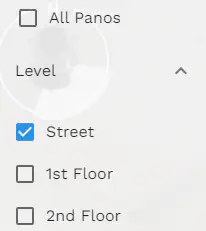
Exclusive to projects with multiple levels.
Allows users to toggle the visibility of nodes by group. Identical to the button in the Panoramic Photo Pane
To hide all the panorama nodes on screen select the “All Panos” checkbox.
Layer List
- The map pane is broken up into layers. The base layer, also called the basemap, can be toggled between satellite imagery and a street graphic from here. The rest of the layers can be toggled on and off from this menu by clicking on them, with an eye icon representing the current visibilty state of the layer.
Sketch Menu
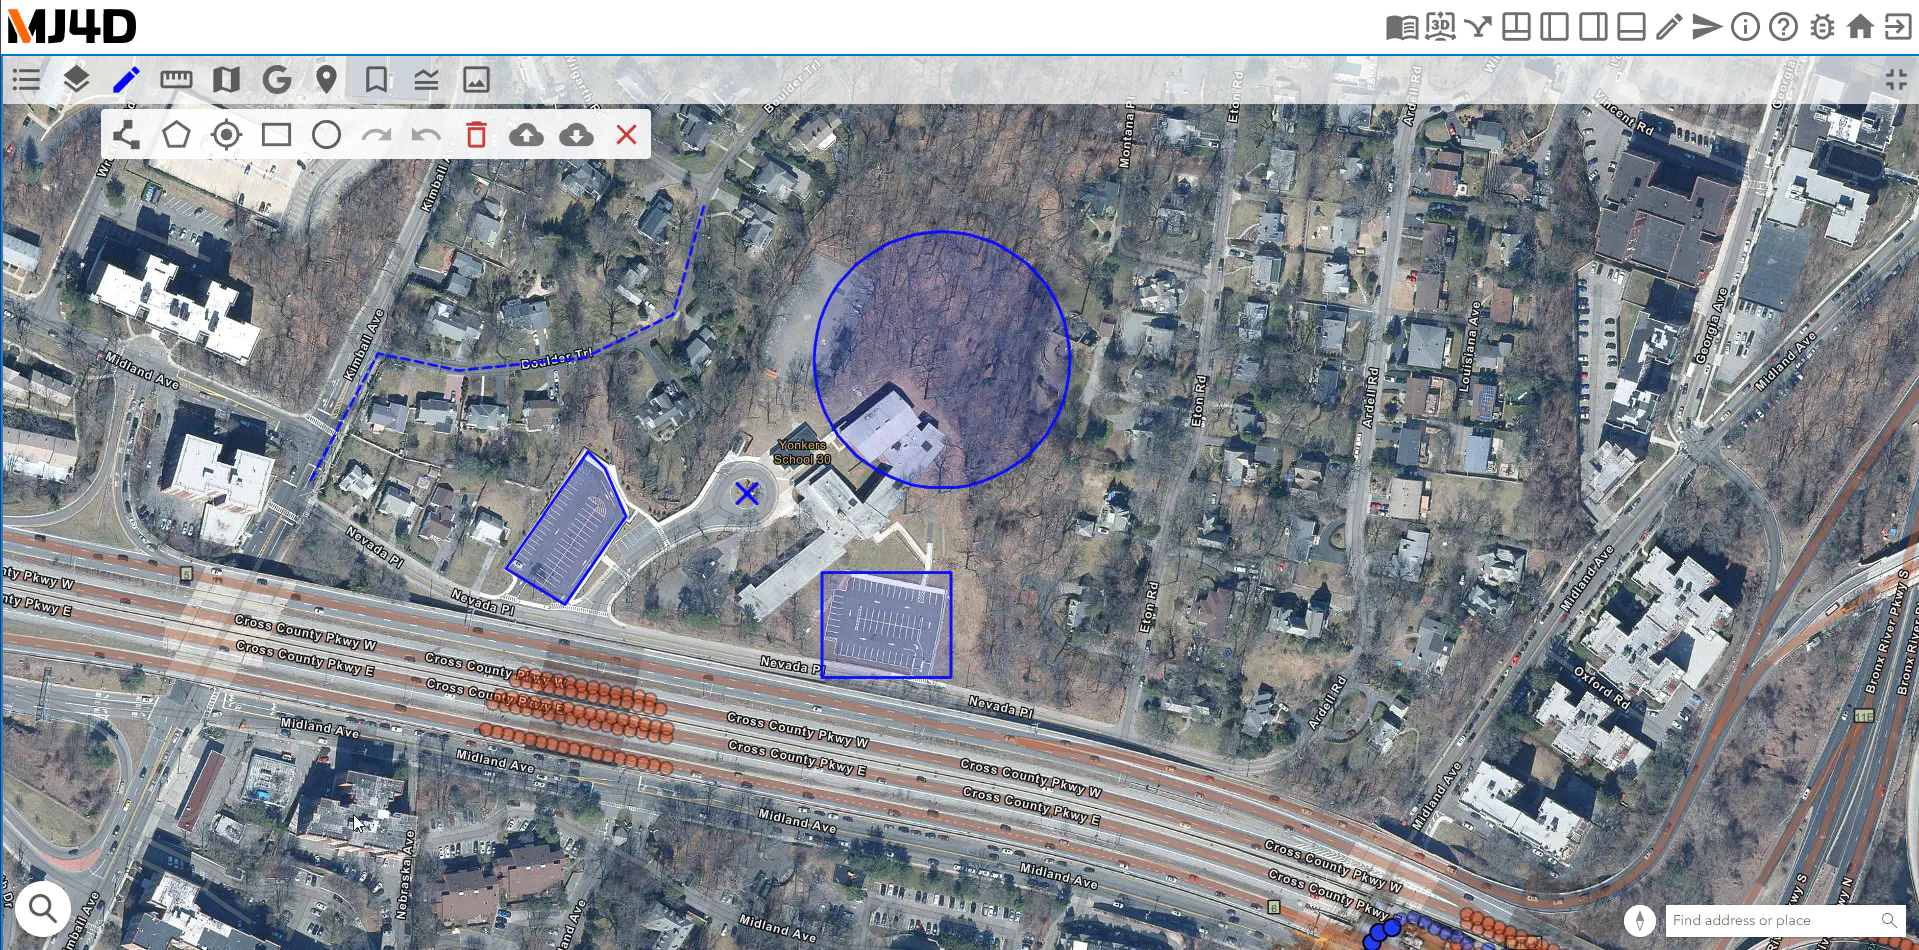
The Sketch Menu tool will open the menu below:
![]()
Polyline
- Draw a polyline with line segments. Confirm the sketch with a double click.
- Draw a polyline with line segments. Confirm the sketch with a double click.
Polygon
- Draw a closed polygon, double click or press enter after selecting the final point to confirm.
- Draw a closed polygon, double click or press enter after selecting the final point to confirm.
Point
- Place a point by clicking anywhere on the map.
- Place a point by clicking anywhere on the map.
Rectangle
- Draw a rectangle by clicking where one corner of the box will be, and while holding click on the mouse drag the rectangle to the desired size. Release click to confirm.
- Draw a rectangle by clicking where one corner of the box will be, and while holding click on the mouse drag the rectangle to the desired size. Release click to confirm.
Circle
- Draw a circle by clicking where the center of the circle will be, and while holding click on the mouse drag the circle to the desired size. Release click to confirm.
- Draw a circle by clicking where the center of the circle will be, and while holding click on the mouse drag the circle to the desired size. Release click to confirm.
Clear Sketches
- Click to clear all sketches from the map pane.
- Click to clear all sketches from the map pane.
Upload Sketch
- Upload a georeferenced JSON file to add into the map pane.
- Upload a georeferenced JSON file to add into the map pane.
Download Sketch
- Download all sketches currently on the map pane to a JSON file.
- Download all sketches currently on the map pane to a JSON file.
Measurement Tool
The measurement tool will open the menu below:

Linear
- Measure distance over a straight line or polygonal chain. Confirm with the enter key.
- Measure distance over a straight line or polygonal chain. Confirm with the enter key.
Area & Perimeter
- Measure the area and perimeter of a polygonal shape on the map. Confirm your final point with the enter key.
- This tool opens an interface on the bottom right side of the map. The interface will by default show area and perimeter in square feet. The drop down menu in the interface allows automatic conversions to other units.
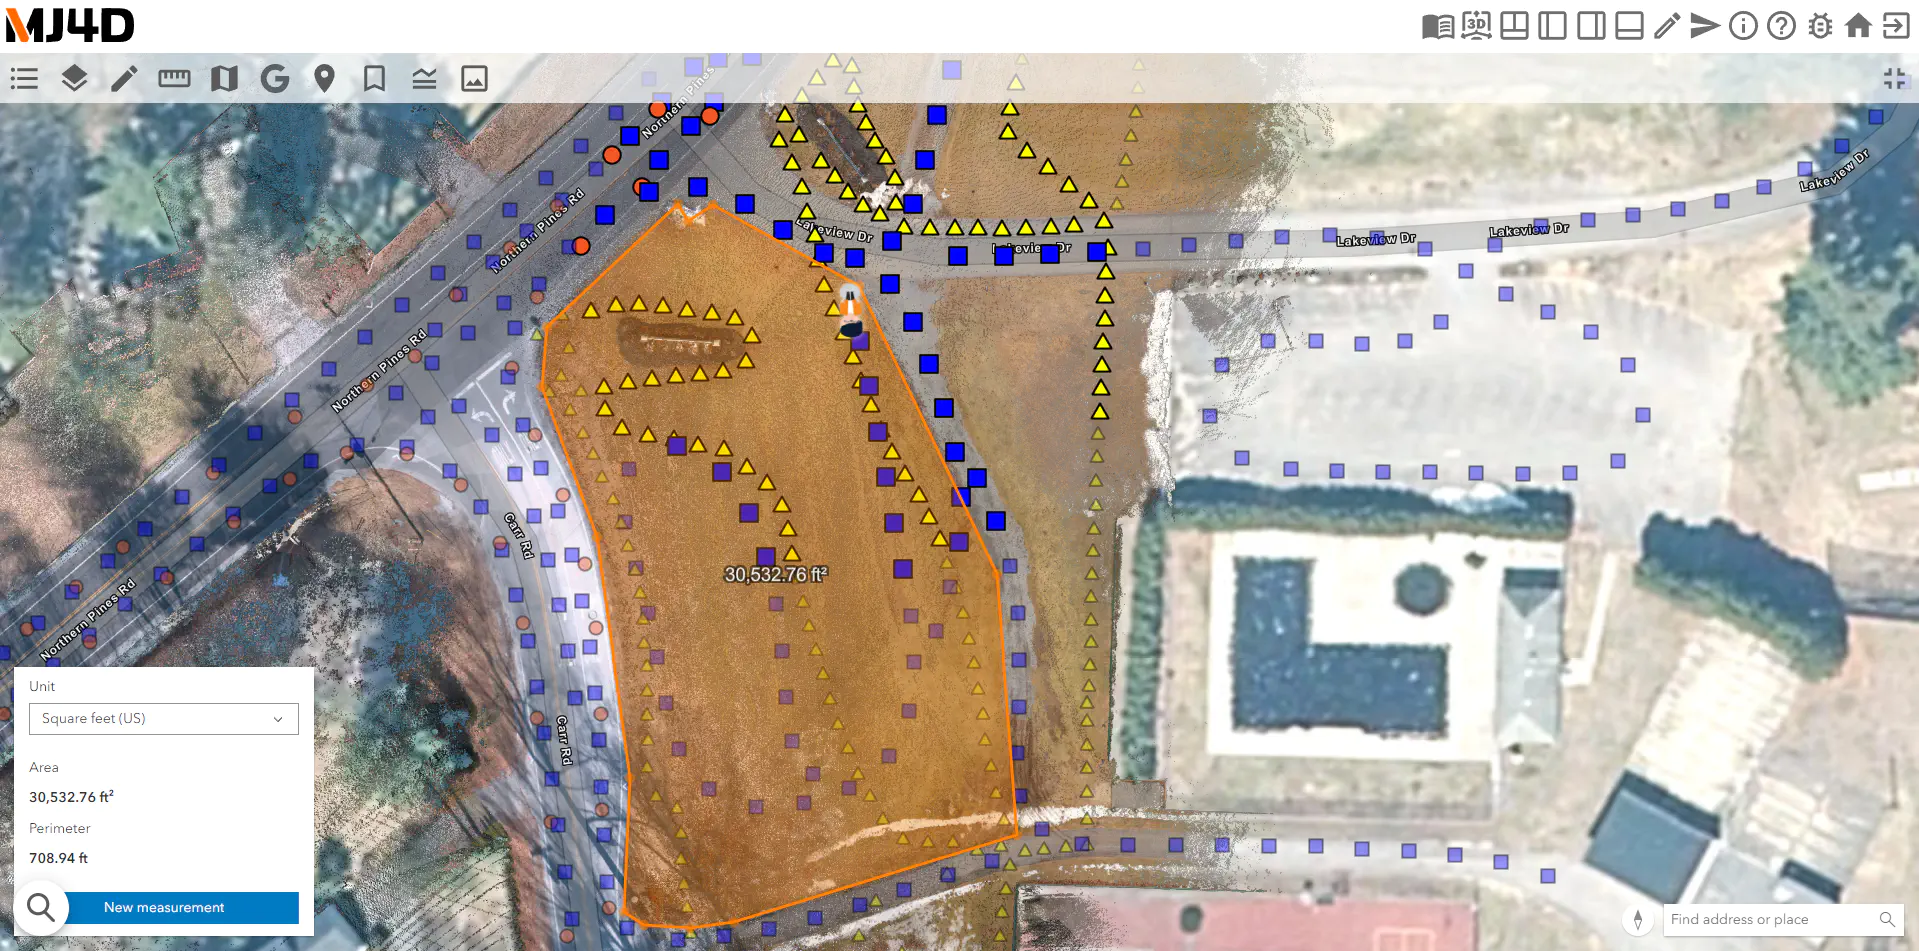
To see the workflow for taking measurements in the map pane, visit the Map Pane Measuring Workflows page.
Basemap
- The basemap button allows the ability to toggle the base map layer between satellite and vector imagery.
Google Streetview
- Opens the avatar’s current location in Google Streetview if the location is available.
Coordinate Conversion Tool

- This tool allows the conversion of coordinate references from WGS (Lat, Long) to State Plane (Northing, Easting). The tool has a few buttons providing some quality of life features.
- - Live/Capture mode: Toggle coordinate conversion between live and capture mode.
- Live Mode: Actively converts the coordinates of the mouse pointer’s location
- Capture Mode: Left-click to perform coordinate conversion on a static point.
- - Coordinate format settings
- Allows the modification of the coordinate output formatting. This can be helpful for copy pasting coordinates into other applicatons.
- For example, to remove the degree symbol (°) from the output:
- - Live/Capture mode: Toggle coordinate conversion between live and capture mode.
Bookmarks Menu
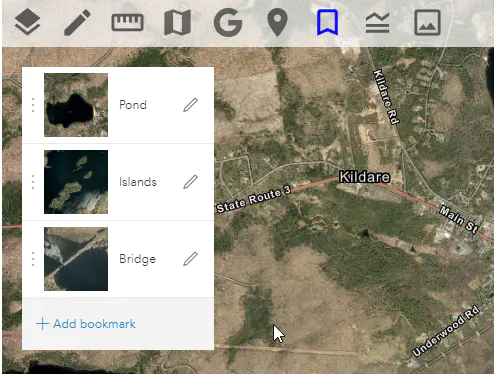
- Clicking on the bookmark icon in the toolbar will toggle the bookmarks menu in the top left corner of the map. Populating the bookmarks menu is easy, find a desired map view and press add bookmark at the bottom of the menu. The bookmark now appears at the top of the menu. To return to a bookmarked location, just click on it from the menu. Note that closing the menu will not remove bookmarks, and they will still be there when the menu is reopened.
- Clicking a bookmark’s corresponding pencil icon allows the deletion or renaming of a bookmark, as well as adding or removing a custom thumbnail for the bookmark.
Toggle Map Legend
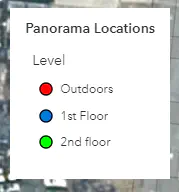
The map legend, while not interactive, provides helpful information. The legend shows content corresponding to the visible layers in the layer list ().
In some cases, there will be more than one colored marker for a pano location. In these cases, the legend will provide a descriptor on each coloration.
Take Screenshot
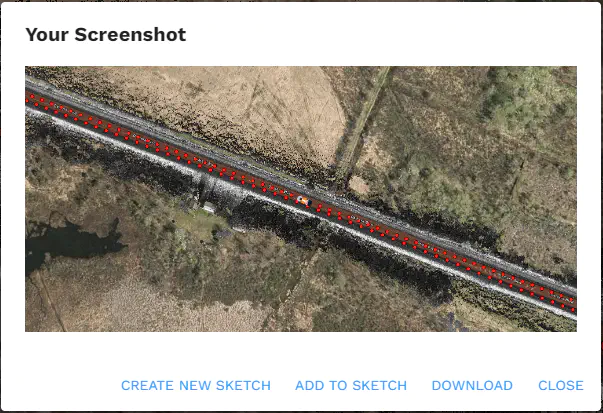
- Upon clicking the screenshot button, a sample screenshot and actions that may be taken with the screenshot will appear.
- Create New Sketch
- Creates a blank Sketchpad canvas with only the screenshot.
- Add to Sketch
- Add a screenshot to the current sketch. Note that after closing the sketch menu, the current sketch will be saved in the sketchbook to return to later. To access the sketchpad directly, click the pencil icon in the MJ4D main toolbar.
- Add to sketch allows the addition of multiple screenshots to a single canvas.
- Download
- Will download a .jpg image of the screenshot.
- Close
- Closes the sketchpad.
- Create New Sketch
Alignments
The Alignments Icon will open the Alignments menu. From here LandXML files with defined Alignments can be imported into MJ4D. Once loaded in, use alignments to calculate stationing information for PinPoint assets & more.